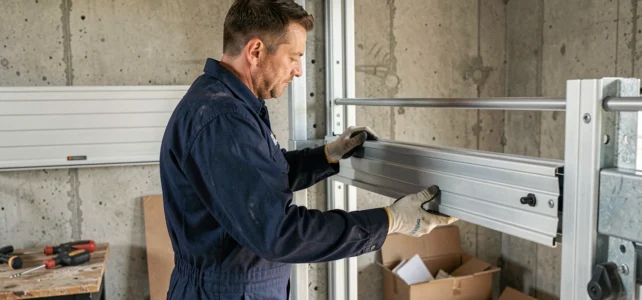
A garage with a lintel that is too short or pipes running along the wall above the opening: it is often in these configurations that the roll-up door makes the most sense. The curtain rolls up into a compact box fixed at the top of the opening, without rails on the ceiling or overhang outside. However, successfully installing it requires mastering a few technical points that the manuals sometimes gloss over.
Check the support constraints before drilling
Before taking out the drill, inspect the wall on either side of the opening and the lintel. A slightly curved lintel requires shims to be placed behind the tracks to correct the plumb defect. Without this correction, the curtain rubs against the aluminum tracks, and the slats get scratched from the first maneuvers.
Also check for the absence of electrical cables, pipes, or conduits embedded in the fixing area. A material detector is inexpensive and prevents drilling into a water pipe or a live wire. The wall must be clean, free of concrete residue or old plugs that would prevent the box from sitting properly.
The width and height of the opening are measured at three points (top, middle, bottom for width, and left, center, right for height). The smallest value in each direction is retained. A gap of a few millimeters between the top and bottom of the opening is common in older constructions.
It is precisely this offset that causes blockages if not anticipated. Before embarking on the installation of a roll-up garage door, this measurement step conditions the rest of the project.
Tracks and box: installation order and common pitfalls
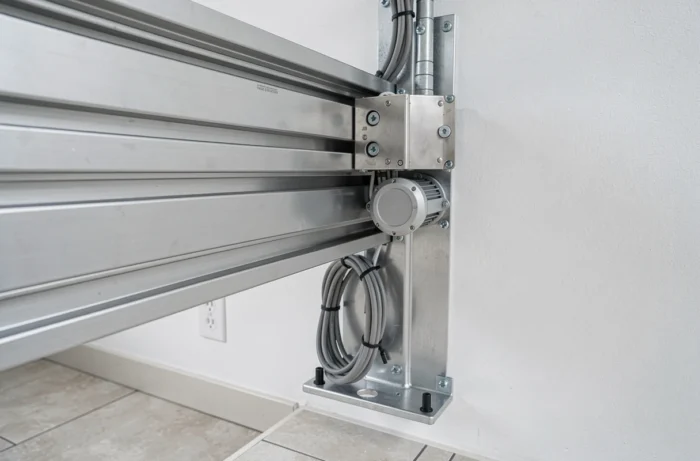
The side tracks are fixed first. They are positioned vertically using a laser level or plumb line, and then the drilling points are marked. The diameter of the plugs depends on the support: expansion plugs for solid concrete, special plugs for hollow blocks. Choosing the wrong fixing on a hollow block means the track will come loose from the wall after a few weeks of use.
Once both tracks are plumb and securely anchored, the rolling box is installed. It is generally fixed to the lintel, inside the garage. Some models also allow for external installation, but feedback on this point varies by brand and facade configuration.
Adjusting the floor clearance of the curtain
The curtain must descend to the floor without forcing. The lower limit of the motor is adjusted so that the last slat is flush with the floor with minimal play. Too much play allows air and pests to enter. Not enough play, and the motor strains with each closure, reducing its lifespan.
It is also checked that the curtain slides freely in the tracks throughout the full height of travel, without hard spots or lateral friction. Persistent friction indicates a plumb defect or a slightly twisted track.
Connecting the motor and compliance with the NF EN 13241 standard
Most tutorials detail the wiring of the motor but overlook a regulatory point. Since the application of the NF EN 13241 standard, every motorized garage door must include an anti-crushing system that stops or reverses the curtain’s travel in case of an obstacle. This requirement conditions the CE marking of the installation.
In practical terms, this means that one cannot simply connect the motor and program the remote control. One must:
- Adjust the obstacle detection sensitivity of the motor (pushing force) so that it stops or reverses at the slightest contact with an object or person.
- Check that the high and low limit systems work correctly, without jerks or overshooting.
- Install photoelectric cells at the bottom of the opening if the motor does not have sufficient obstacle detection, which is recommended in all cases to enhance safety.
The adjustment of the anti-crushing sensitivity is not optional, it is a regulatory obligation. A poorly adjusted motor that crushes an obstacle without stopping renders the installation non-compliant.
Radio motorization and home automation integration: what changes in installation
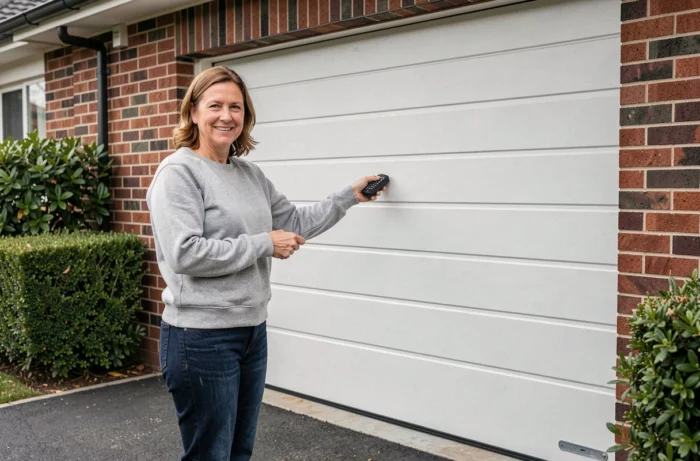
Roll-up door motors now predominantly include a radio control. No need to run a cable between a wall button and the motor for regular use: the remote control is sufficient. Some motors, particularly those compatible with systems like Somfy, also allow for smartphone control and integration into home automation scenarios (automatic closure at a set time, coupling with garage lighting).
This evolution has a concrete impact on installation. The electrical supply to the motor remains mandatory (a dedicated line in 230 V protected by a circuit breaker), but the control wiring is simplified. This saves time during installation and avoids wall chases to run a control wire.
Pairing the remote control and safety test
The pairing follows a procedure specific to each manufacturer. The motor is put into programming mode, the button on the radio remote is pressed, and the motor registers the signal. After pairing, several complete cycles of opening and closing are performed to check the proper winding of the curtain in the box.
An obstacle (a rigid cardboard, for example) is then placed in the path of the curtain to test the detection. The motor must stop or reverse its course immediately. If the reaction is too slow or absent, the sensitivity adjustment is revisited before considering the installation complete.
- Test the obstacle detection in the low position (the area most exposed to children and pets).
- Check the manual release operation in case of power failure.
- Ensure that the radio remote control works at a reasonable distance from outside the garage.
A well-installed roll-up door rolls without excessive noise, stops abruptly on an obstacle, and can be manually unlocked in a few seconds. If any of these three criteria are not met after installation, the adjustment must be revisited before closing the project.